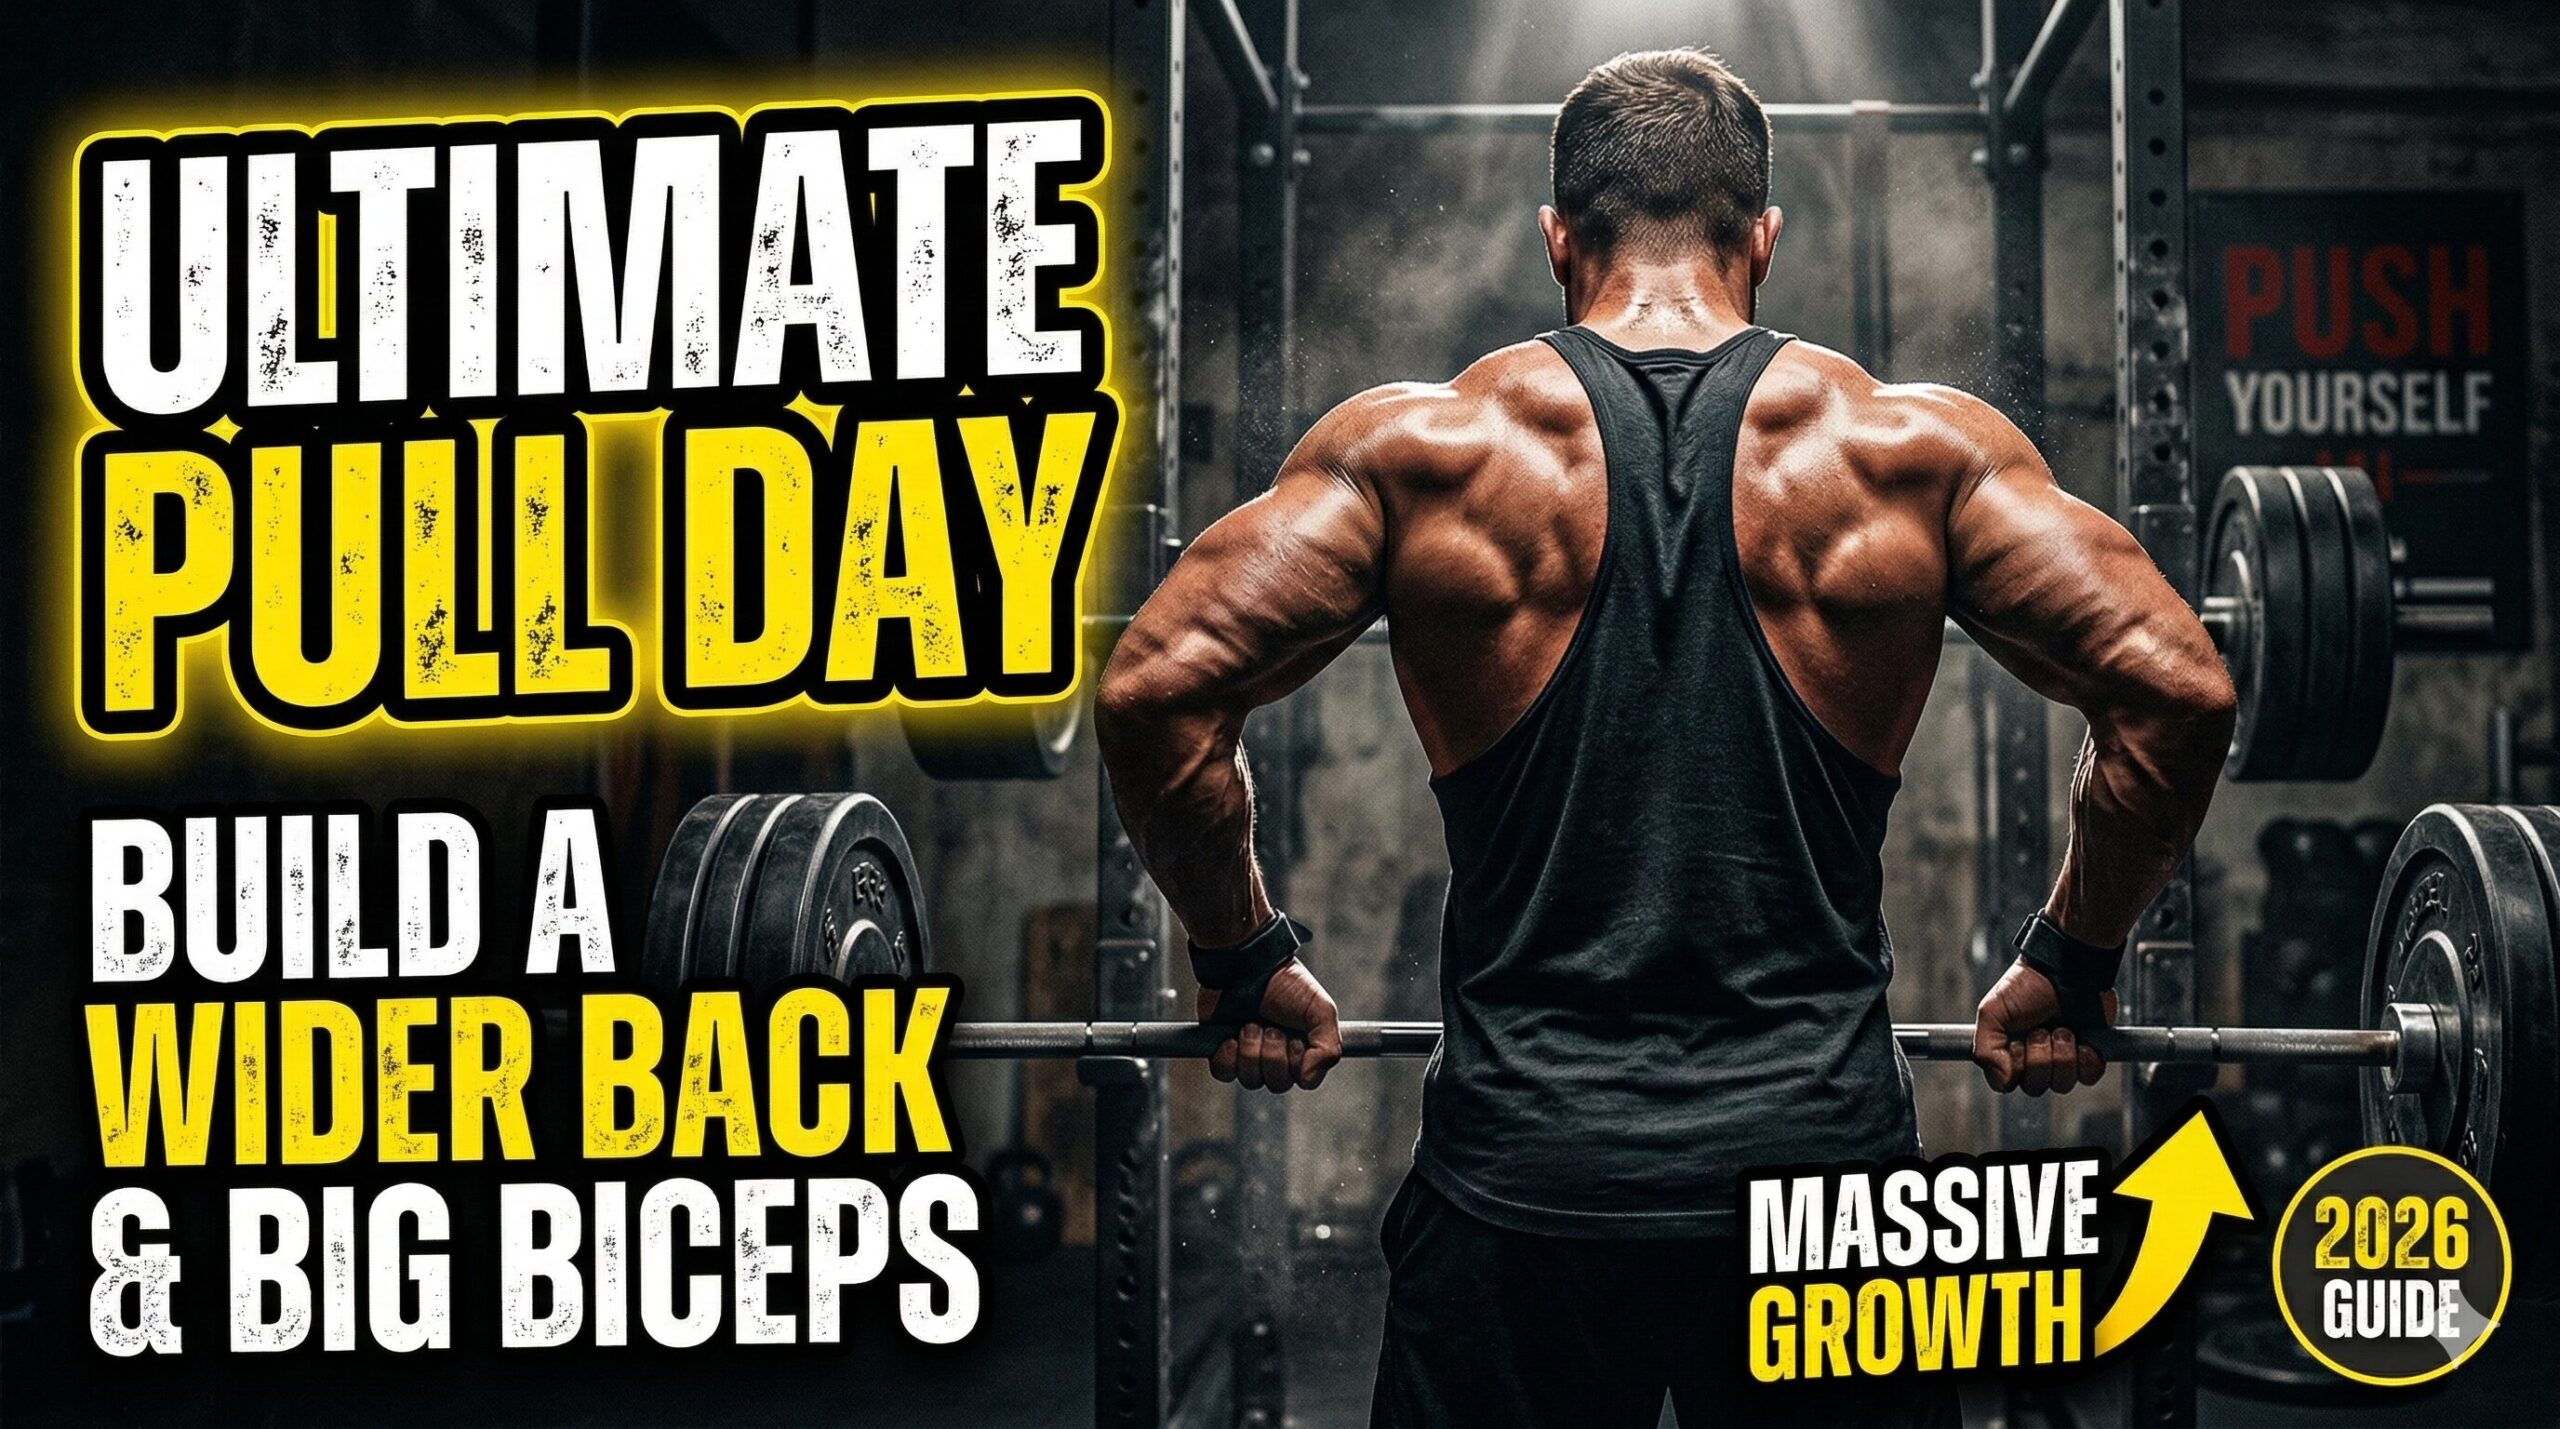
When it comes to building a balanced, aesthetic, and functional physique, the Pull Day is arguably the most satisfying session in the “Push, Pull, Legs” (PPL) split. There is a unique primal feeling to heavy rows and the skin-splitting pump of a high-volume bicep finisher.
But a great pull day isn’t just about picking things up and putting them down. To maximize hypertrophy (muscle growth) and strength, you need a strategic approach that targets the latissimus dorsi, rhomboids, traps, rear deltoids, and brachialis.
In this guide, we’re breaking down the science of the pull, the best exercises to include, and a sample 1,000-word-level deep dive into mastering your back development.
The Anatomy of the Pull: What Are We Training?
To train effectively, you have to understand what’s happening under the skin. A “Pull” workout primarily targets the posterior chain of the upper body:
-
The Lats (Latissimus Dorsi): The “wings” of your back. These create width and that coveted V-taper.
-
The Traps (Trapezius): The diamond-shaped muscle that runs from your neck down to the mid-back. These provide thickness.
-
The Rhomboids: Located under the traps, these are essential for posture and pulling your shoulder blades together.
-
Rear Delts (Posterior Deltoids): Often neglected, these round out the back of the shoulder.
-
Biceps & Brachialis: The secondary movers in almost every pull, responsible for elbow flexion.
5 Essential Rules for a Powerful Pull Day
1. Master the “Mind-Muscle” Connection
Many beginners “pull with their hands.” Instead, imagine your hands are merely hooks. Initiate every movement by driving your elbows back. This ensures the tension stays on your lats and rhomboids rather than letting your biceps take over.
2. Prioritize Compound Movements
Start your session with the big hitters—Weighted Pull-ups or Barbell Rows. These require the most energy and recruit the most muscle fibers. Save the isolation moves, like face pulls or curls, for the end.
3. Vary Your Grips
Changing your hand position can completely shift the focus of an exercise:
-
Overhand (Pronated): More upper back and rear delt focus.
-
Underhand (Supinated): More bicep and lower lat involvement.
-
Neutral (Palms facing): Great for heavy loading and brachialis activation.
4. Control the Eccentric
Gravity is not your workout partner. Don’t just drop the weight. By controlling the “negative” (the way down), you create more micro-tears in the muscle fibers, leading to better growth.
5. Use Straps When Necessary
Your back is much stronger than your grip. If your forearms are giving out before your back is fatigued on a heavy set of rows, don’t be afraid to use lifting straps.
The “Complete Back & Bicep” Routine
Here is a structured workout designed for maximum muscle recruitment.
| Exercise | Sets | Reps | Focus |
| Deadlifts or Rack Pulls | 3 | 5-8 | Overall Power/Posterior Chain |
| Weighted Pull-Ups | 3 | 8-10 | Lat Width (V-Taper) |
| Bent Over Barbell Rows | 4 | 8-12 | Mid-Back Thickness |
| Seated Cable Rows | 3 | 12-15 | Constant Tension/Stretch |
| Face Pulls | 3 | 15-20 | Rear Delts & Posture |
| Incline Dumbbell Curls | 3 | 10-12 | Bicep Peak & Stretch |
| Hammer Curls | 3 | 10-12 | Brachialis & Forearm Girth |
Detailed Exercise Breakdown
The King of Rows: Bent-Over Barbell Row
This is the gold standard for back thickness. Stand with feet shoulder-width apart, hinge at the hips until your torso is nearly parallel to the floor, and pull the bar toward your lower ribcage.
The Width Builder: Lat Pulldowns (or Pull-Ups)
If you want to look wide from the front, you need vertical pulling. Focus on pulling the bar to your upper chest, not behind your neck. Squeeze your shoulder blades together at the bottom of the movement.
The Finisher: Face Pulls
If you sit at a desk all day, face pulls are your best friend. They counteract the “hunched” posture by strengthening the rear delts and rotator cuffs. Pull the rope toward your forehead and “pull it apart” as you reach your face.
Nutrition and Recovery for Pull Day
You can’t build a massive back on a deficit. Ensure you are consuming adequate protein (roughly 0.8g to 1g per pound of body weight) to repair the tissues you’ve just broken down.
Because the back is a large muscle group, it can take 48–72 hours to fully recover. Avoid training “Push” movements that involve heavy shoulder stability immediately after a grueling pull session if you feel excessive soreness in your connective tissues.
Conclusion
A successful pull day is a mix of heavy lifting, controlled movements, and a relentless focus on the back muscles rather than just moving weight from point A to point B. By incorporating a mix of vertical and horizontal pulls, you ensure that no part of your posterior chain is left behind. Consistency is the secret sauce—stick to these fundamentals for 8–12 weeks, and you’ll start seeing a transformation in your strength and silhouette.
FAQ: Frequently Asked Questions
Q: Can I do Pull Day every day?
A: Absolutely not. Your muscles grow while you rest, not while you’re in the gym. Aim for 2 pull sessions per week at most if you are following a high-frequency split.
Q: Should I do Deadlifts on Pull Day or Leg Day?
A: This is a classic debate. If you focus on the “pulling” aspect of the deadlift (back and traps), keep it on Pull Day. If you use it for hamstring and glute development, move it to Leg Day.
Q: What if I can’t do a single Pull-Up?
A: Use the assisted pull-up machine or perform “Lat Pulldowns” until you build the foundational strength. Lat pulldowns are an excellent substitute for building the necessary muscle.
Q: How long should a Pull Day workout last?
A: Roughly 60 to 75 minutes. If you are training with high intensity, you shouldn’t need more time than that to fully exhaust the muscles.
2 thoughts on “7 Best Pull Day Exercises for Maximum Muscle Growth (2026 Guide)”